Carbon monoxide is a very hazardous gas that everyone is aware of. It is extremely harmful since it is not only odorless but also colorless, making it impossible to detect. Fortunately, we have carbon monoxide detectors that can keep us safe.
But, the question now is how do you install a carbon monoxide detector?
Stage 1:

Conduct some research on the best carbon monoxide detector for your needs: On the market, there are two primary types of detectors. One is battery-powered, while the other is powered by alternating current. Investigate the finest solution for your house, business, or anywhere you intend to install it. If you know you’ll have trouble remembering to change the batteries, it’s best to stick with AC-powered detectors. You may also consider purchasing a detector whose alert becomes louder and faster as carbon monoxide levels rise.
Stage 2:
Determine the installation site: Choosing the position of your detector is critical. Carbon monoxide tends to ascend because it is less thick than air. This results in the optimal site being towards the ceiling and away from fuel-burning equipment. It should be at least 15 feet (4.6 meters) away from heating and cooking appliances, as well as from damp regions. It should also be checked to make sure it is not obscured by curtains, furniture, or anything else. The consumer product safety commission (CPSC) recommends placing the detector near your bedroom so that it wakes you up if it goes off. It is advised that detectors be installed on each floor of multi-level residences.
Stage 3:
Unpack the product and read installation instructions: Make sure that the packaging has everything. Battery-powered units usually come with screws and anchors, while AC-powered units simply need to be plugged in.
Stage 4:
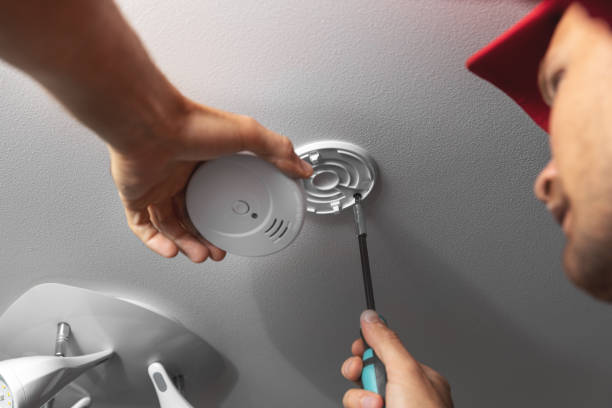
Mark installation holes: Remove the twist off base and align it with the wall in the installation location that you have chosen. Make a dot with a pencil to mark the holes.
Stage 5:
Punch holes in the dots: Using a wall punch and hammer, create holes in the designated areas. In order to ensure a proper fit, holes should be made no bigger than the screw anchors provided.
Stage 6:
Install the screw anchors: Place the screw anchors one at a time on top of the holes and gently tap them into place with the hammer.
Stage 7:
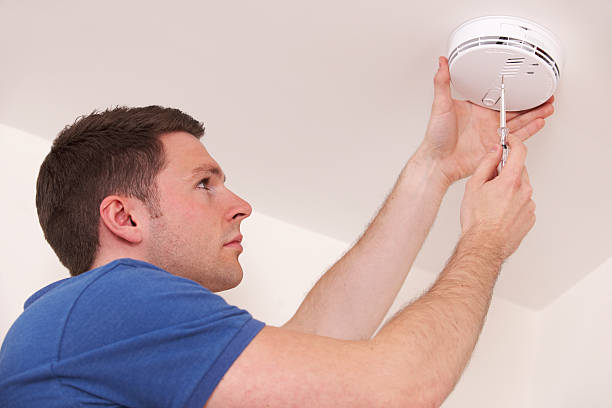
Install the detector base into the wall: If your carbon monoxide detector has a twisting base, remove it and screw it into place with your screwdriver and the provided screws. If your detector does not have a twist off base, screw the screws into the anchors without tightening them. Check that they protrude far enough to allow the detector to pass over them.
Stage 8:
Insert the batteries and place the detector.
Stage 9:
Test it: You must test your detector to ensure that it is operational. This will also allow you to become acquainted with the way it sounds.
Stage 10:
Schedule battery replacement: Make a note on your calendar or set an electronic reminder on your computer, mobile device, or other device to replace the batteries twice a year. You’ll also need to examine the chemical that powers the detecting procedure. It should be replaced on a regular basis.
Since I’m in a pretty good mood, let me give you some tips:
It is a good idea to check your detectors every couple of months, especially at the start of the winter season, to ensure that they are powered and operating correctly. You should also keep this item out of reach of dogs and youngsters. If the alarm goes off, immediately switch off any burning appliances, air the room, swiftly evacuate everyone, do a head count, and phone 911 if anyone is showing signs of poisoning. The next obvious step is to have an expert examine the affected device.


