Feeling safe in your own home is paramount and entry sensors are some of the most important home security features.
Entry points such as your front doors and windows are one of the first things burglars aim at. If you don’t want your house to be the next target, installing doors and windows sensors is a must.
Installing Window Sensors
Step 1:
Select the windows in your home you wish to include in your home security system. After establishing that a certain type of sensor is compatible with your burglar alarm system, purchase one for each.
You are not required to cover all of your windows. Windows that are clearly visible from the street, as well as windows higher than the first level, normally do not require a sensor. Windows that are too tiny for a thief to squeeze through do not work either. Windows that are blocked or painted shut may require protection since a thief may opt to break through that window.
Step 2:
Read all of the instructions and cautions that come with the window sensor carefully. Various brands and models install in multiple ways. If anything you read here contradicts the handbook, follow the manufacturer’s recommendations.
Step 3:
Using double-sided tape, secure the window sensor to each window. Corners are ideal locations for sensor mounting since they obstruct less of your view.
Step 4:
Connect the connecting wire to a sensor. Connect the cable to your control panel by running it along a corner of your wall or, if possible, through the wall. A window sensor kit will normally include the connecting wire. If not, you may get it at any electronics or home improvement store.
Repeat this process for each sensor you want to install.
Step 5:
Locate the relevant input points for window sensors in the control panel of your burglar alarm. Insert the connecting wires’ ends into the input locations.
Step 6:
Turn on your burglar alarm and test it by opening each window one at a time. If your home security system has a live-response service, it’s a good idea to phone ahead and let them know you’ll be doing this.
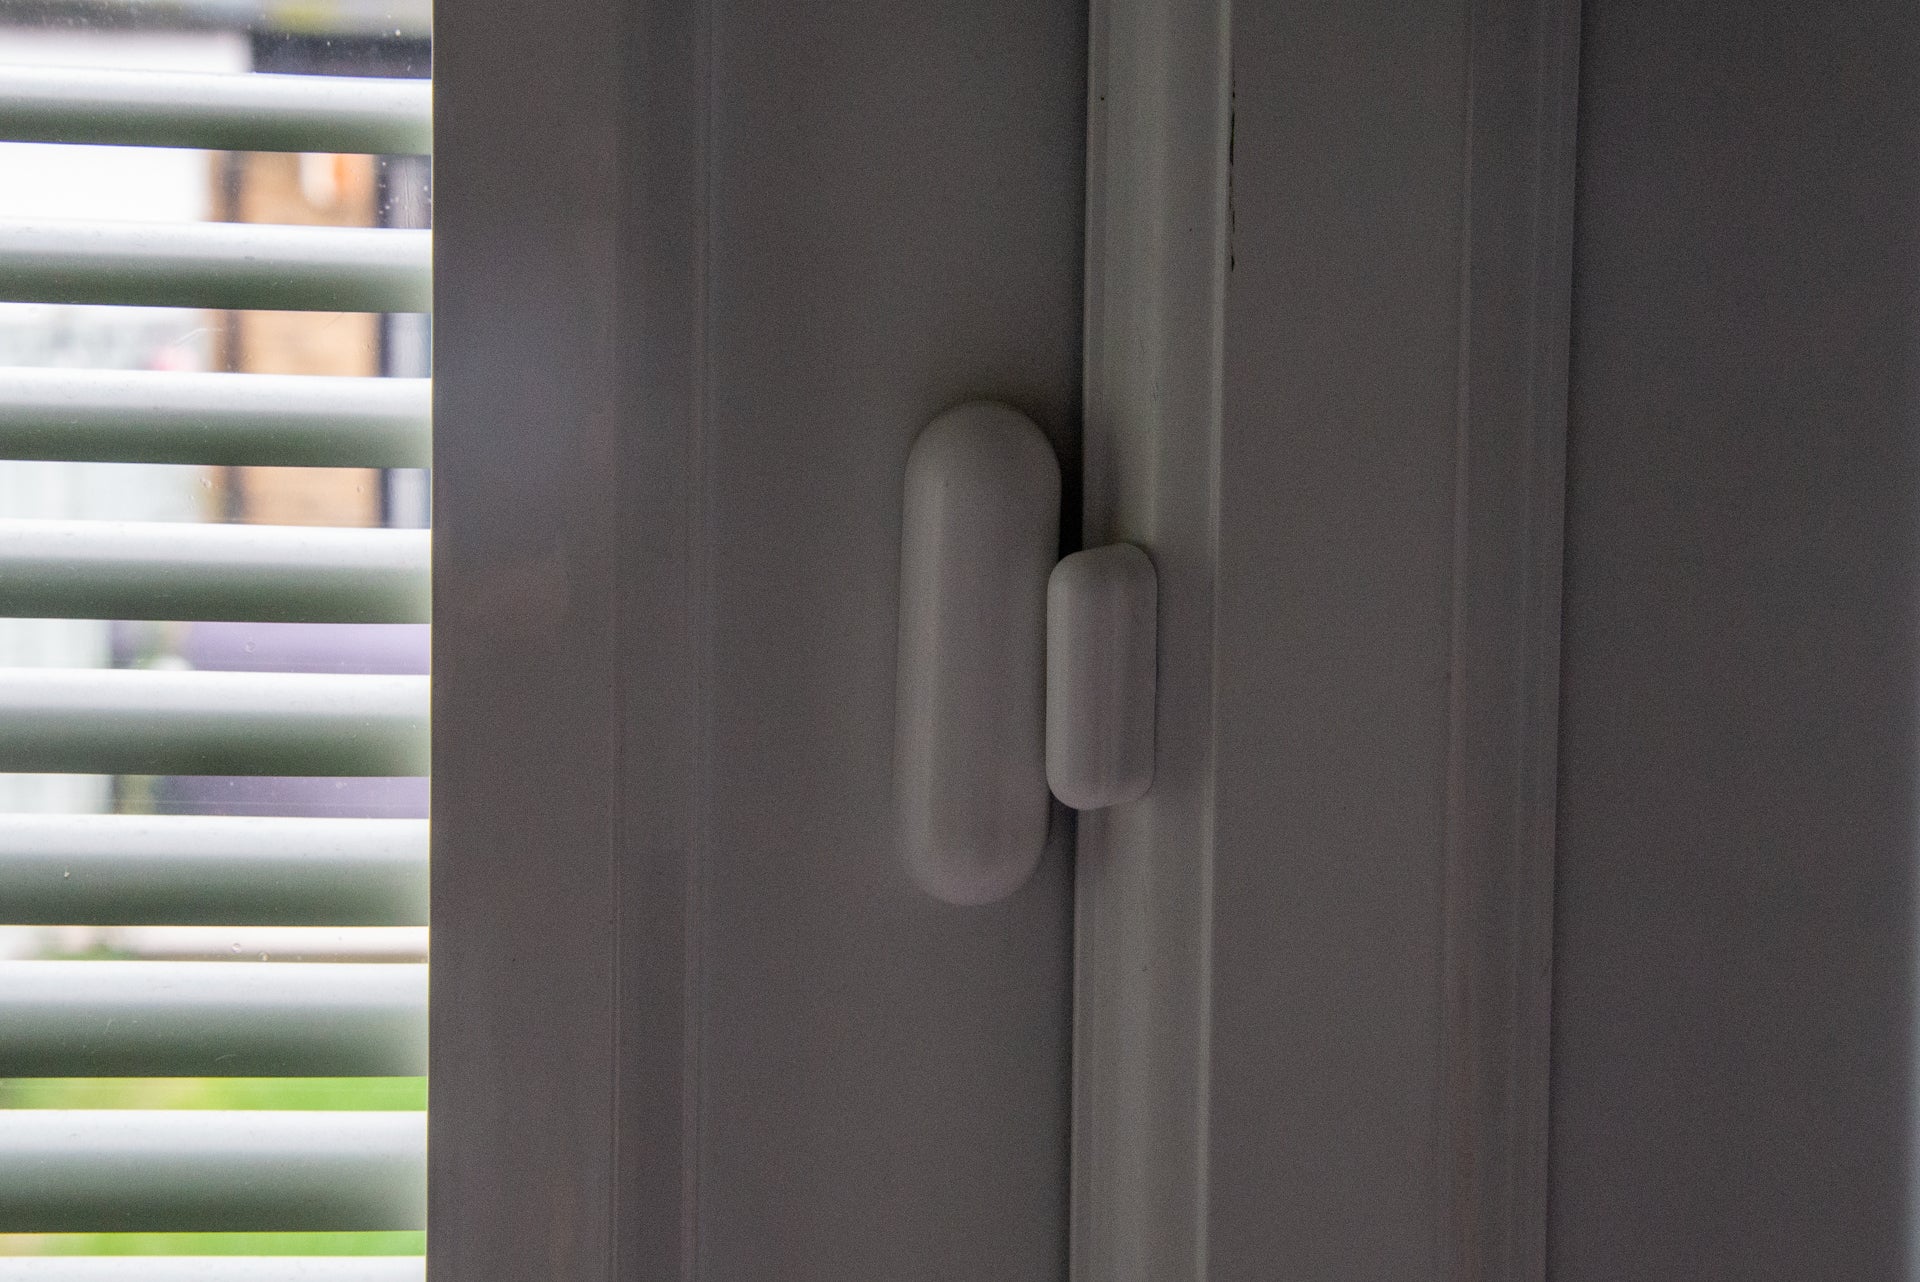
Installing Door Sensors

The ability to track when doors open is a critical component of security systems and the cornerstone of intrusion detection. A door sensor works best when it is mounted on a level surface and the magnet is placed on a nearby surface: one half on the door and the other half on the door frame.
It doesn’t typically matter which half goes where—as long as the two parts are close to each other (within an inch or two).
Usually, the installation process of a sensor on a door and window is more or less the same. However, if you wish to put a magnetic sensor on a metal door, you may need to modify the installation because this can interfere with normal operation in some instances.
- If it’s a metal door with a metal frame: First, test your sensor to verify whether it functions appropriately. While testing, you can briefly hold it in place with your hands or a little piece of tape.
- If it’s a metal door with a wooden frame: Place the magnet on the door and the door alarm on the frame of a metal door with a wooden frame. If the magnet adheres firmly enough to the door, you may not require any further mounting hardware. It doesn’t hurt, though, to tie it in place to keep it from flying off if the door bangs.
Additional tips:
Install the sensor normally if it works as planned. If it doesn’t work, here’s what you need to do:
- Contact the manufacturer to see if the sensor can be jerry-rigged. Prepare to be told that there is nothing you can do. Take a few deep breaths or a couple of spoonfuls of ice cream (it always works for me) before proceeding to step two.
- If jerry-rigging does not work, check to determine if your system has a plunger sensor, hinge sensor, or vibration sensor.


